Tile Backsplash Installation Services Overview
Visitors will learn how local contractors can help with tile backsplash installation and compare options to find the right service providers.
- - Tile Backsplash Installation Services - connecting homeowners and property managers with local tile installation professionals.
- - Local contractors specializing in kitchen and bathroom backsplash projects are available to provide expert craftsmanship.
- - Find experienced service providers for residential or commercial tile backsplash upgrades to suit various property types.
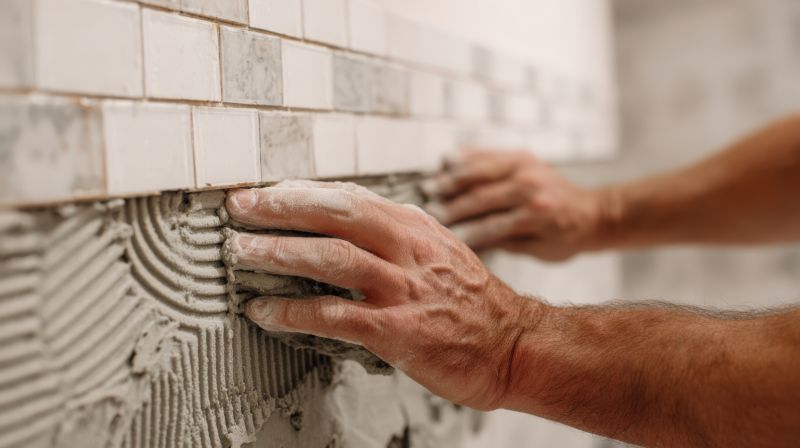
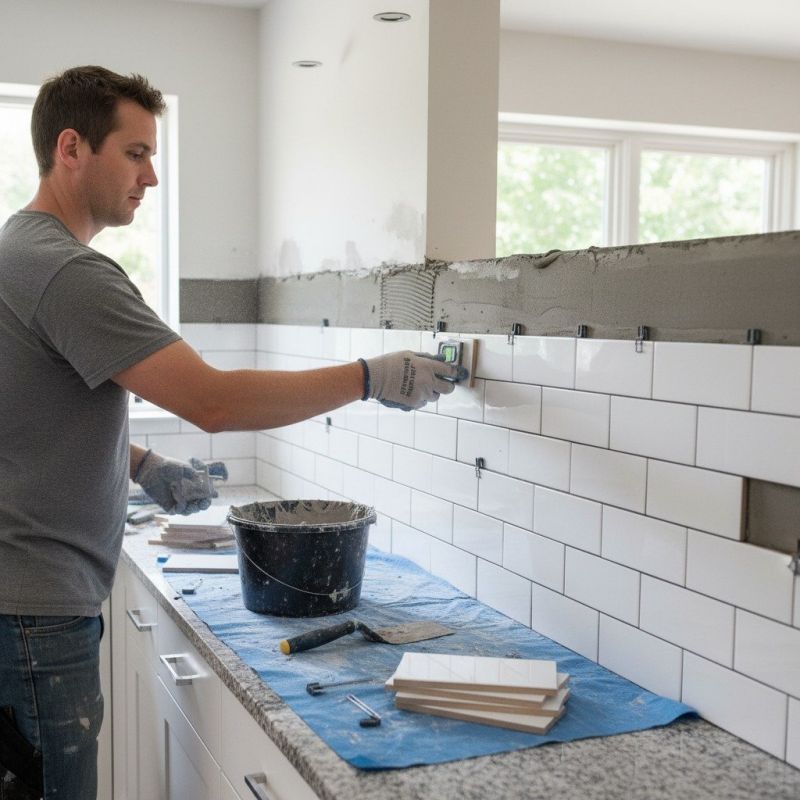
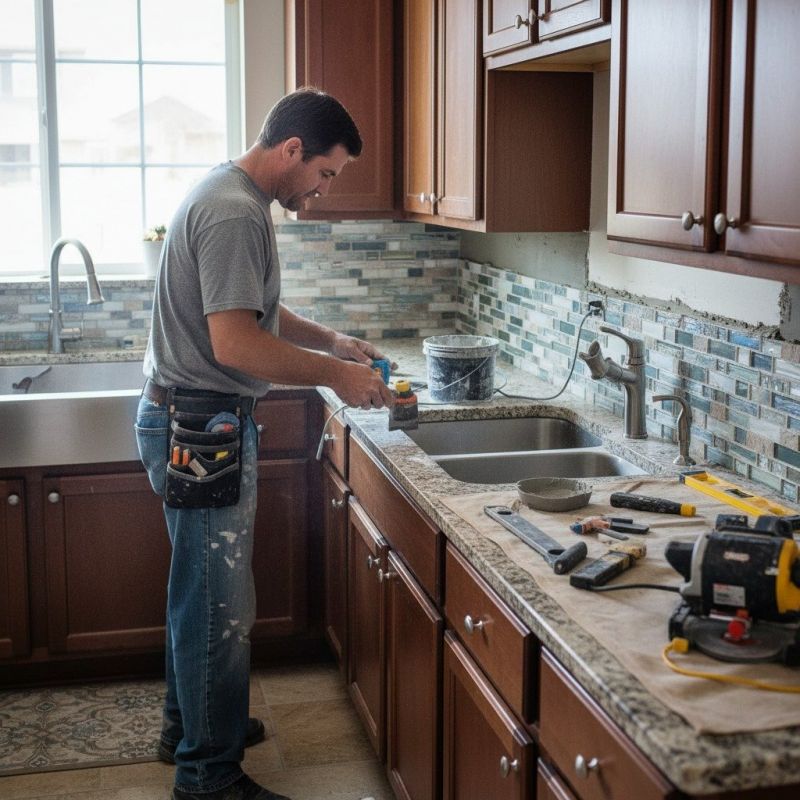
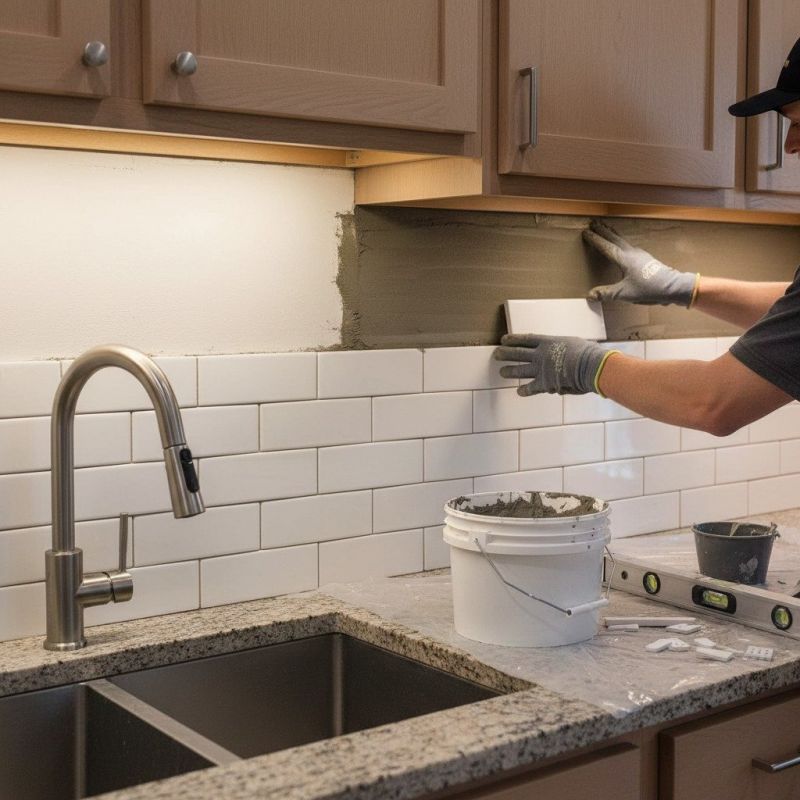
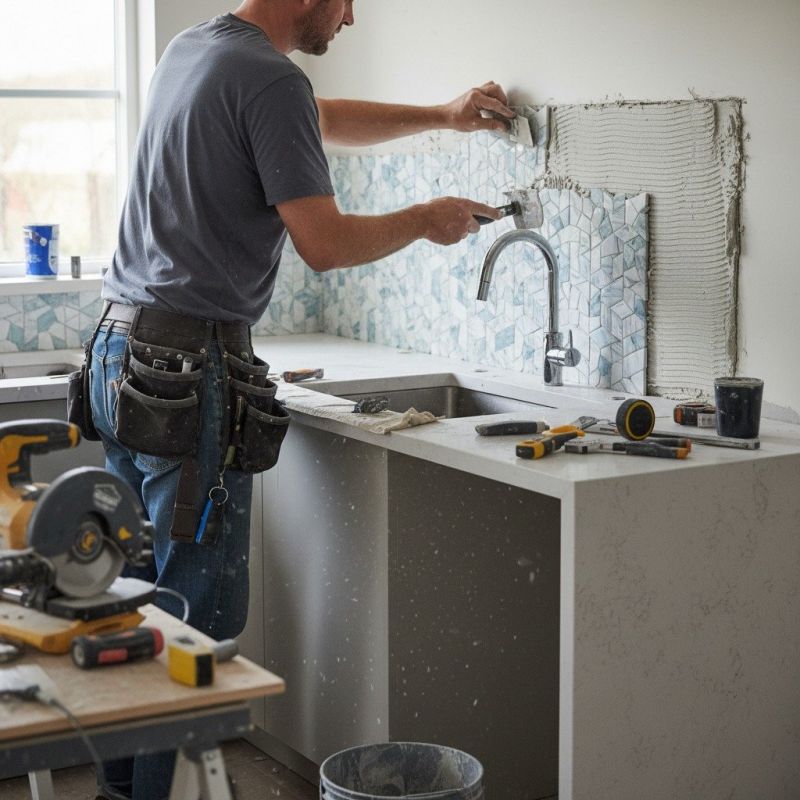
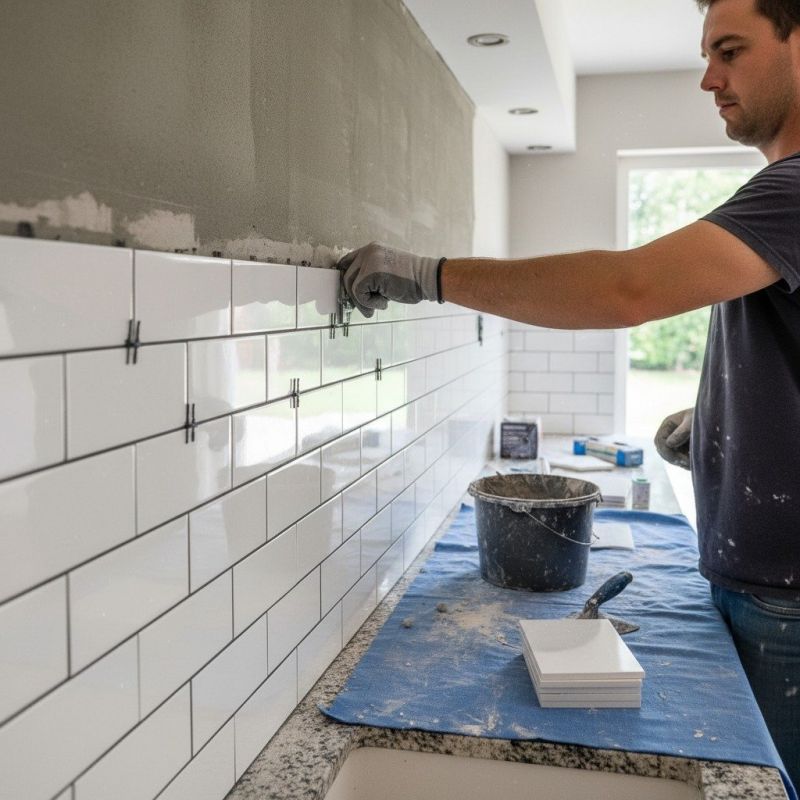
Tile backsplash installation is a popular way for property owners to enhance the aesthetic appeal and functionality of kitchens and bathrooms. Local contractors who specialize in tile work typically handle these projects, offering services that include measuring, preparing surfaces, and carefully installing tiles to achieve a polished look. Homeowners often seek out these professionals when updating or remodeling their spaces, aiming for a durable and visually appealing finish that complements their overall design.
Connecting with experienced service providers ensures that tile backsplash projects are completed with attention to detail and craftsmanship. Local pros understand the nuances of working with different tile materials and can provide guidance on design choices, layout, and installation techniques. Property owners can expect to find skilled contractors capable of managing projects of various sizes, helping to bring their vision for a stylish and functional backsplash to life.
This guide provides helpful information to understand the key aspects of tile backsplash installation projects. It assists in comparing local contractors and connecting with service providers who can handle the work. The content aims to prepare homeowners with the basics needed to discuss their project with trusted local pros.